Exporting Your Designs
After crafting your save-the-date designs in Canva, exporting the final product involves selecting the appropriate file formats and following essential downloading and printing strategies. These steps ensure that the designs maintain quality and suit various professional and personal uses.
File Formats for Different Needs
Canva offers a range of file formats to accommodate diverse purposes. For digital sharing, JPEG and PNG are ideal due to their compatibility with most devices and web platforms. PNG is preferred when high resolution and transparency are necessary, while JPEG works well for smaller file sizes.
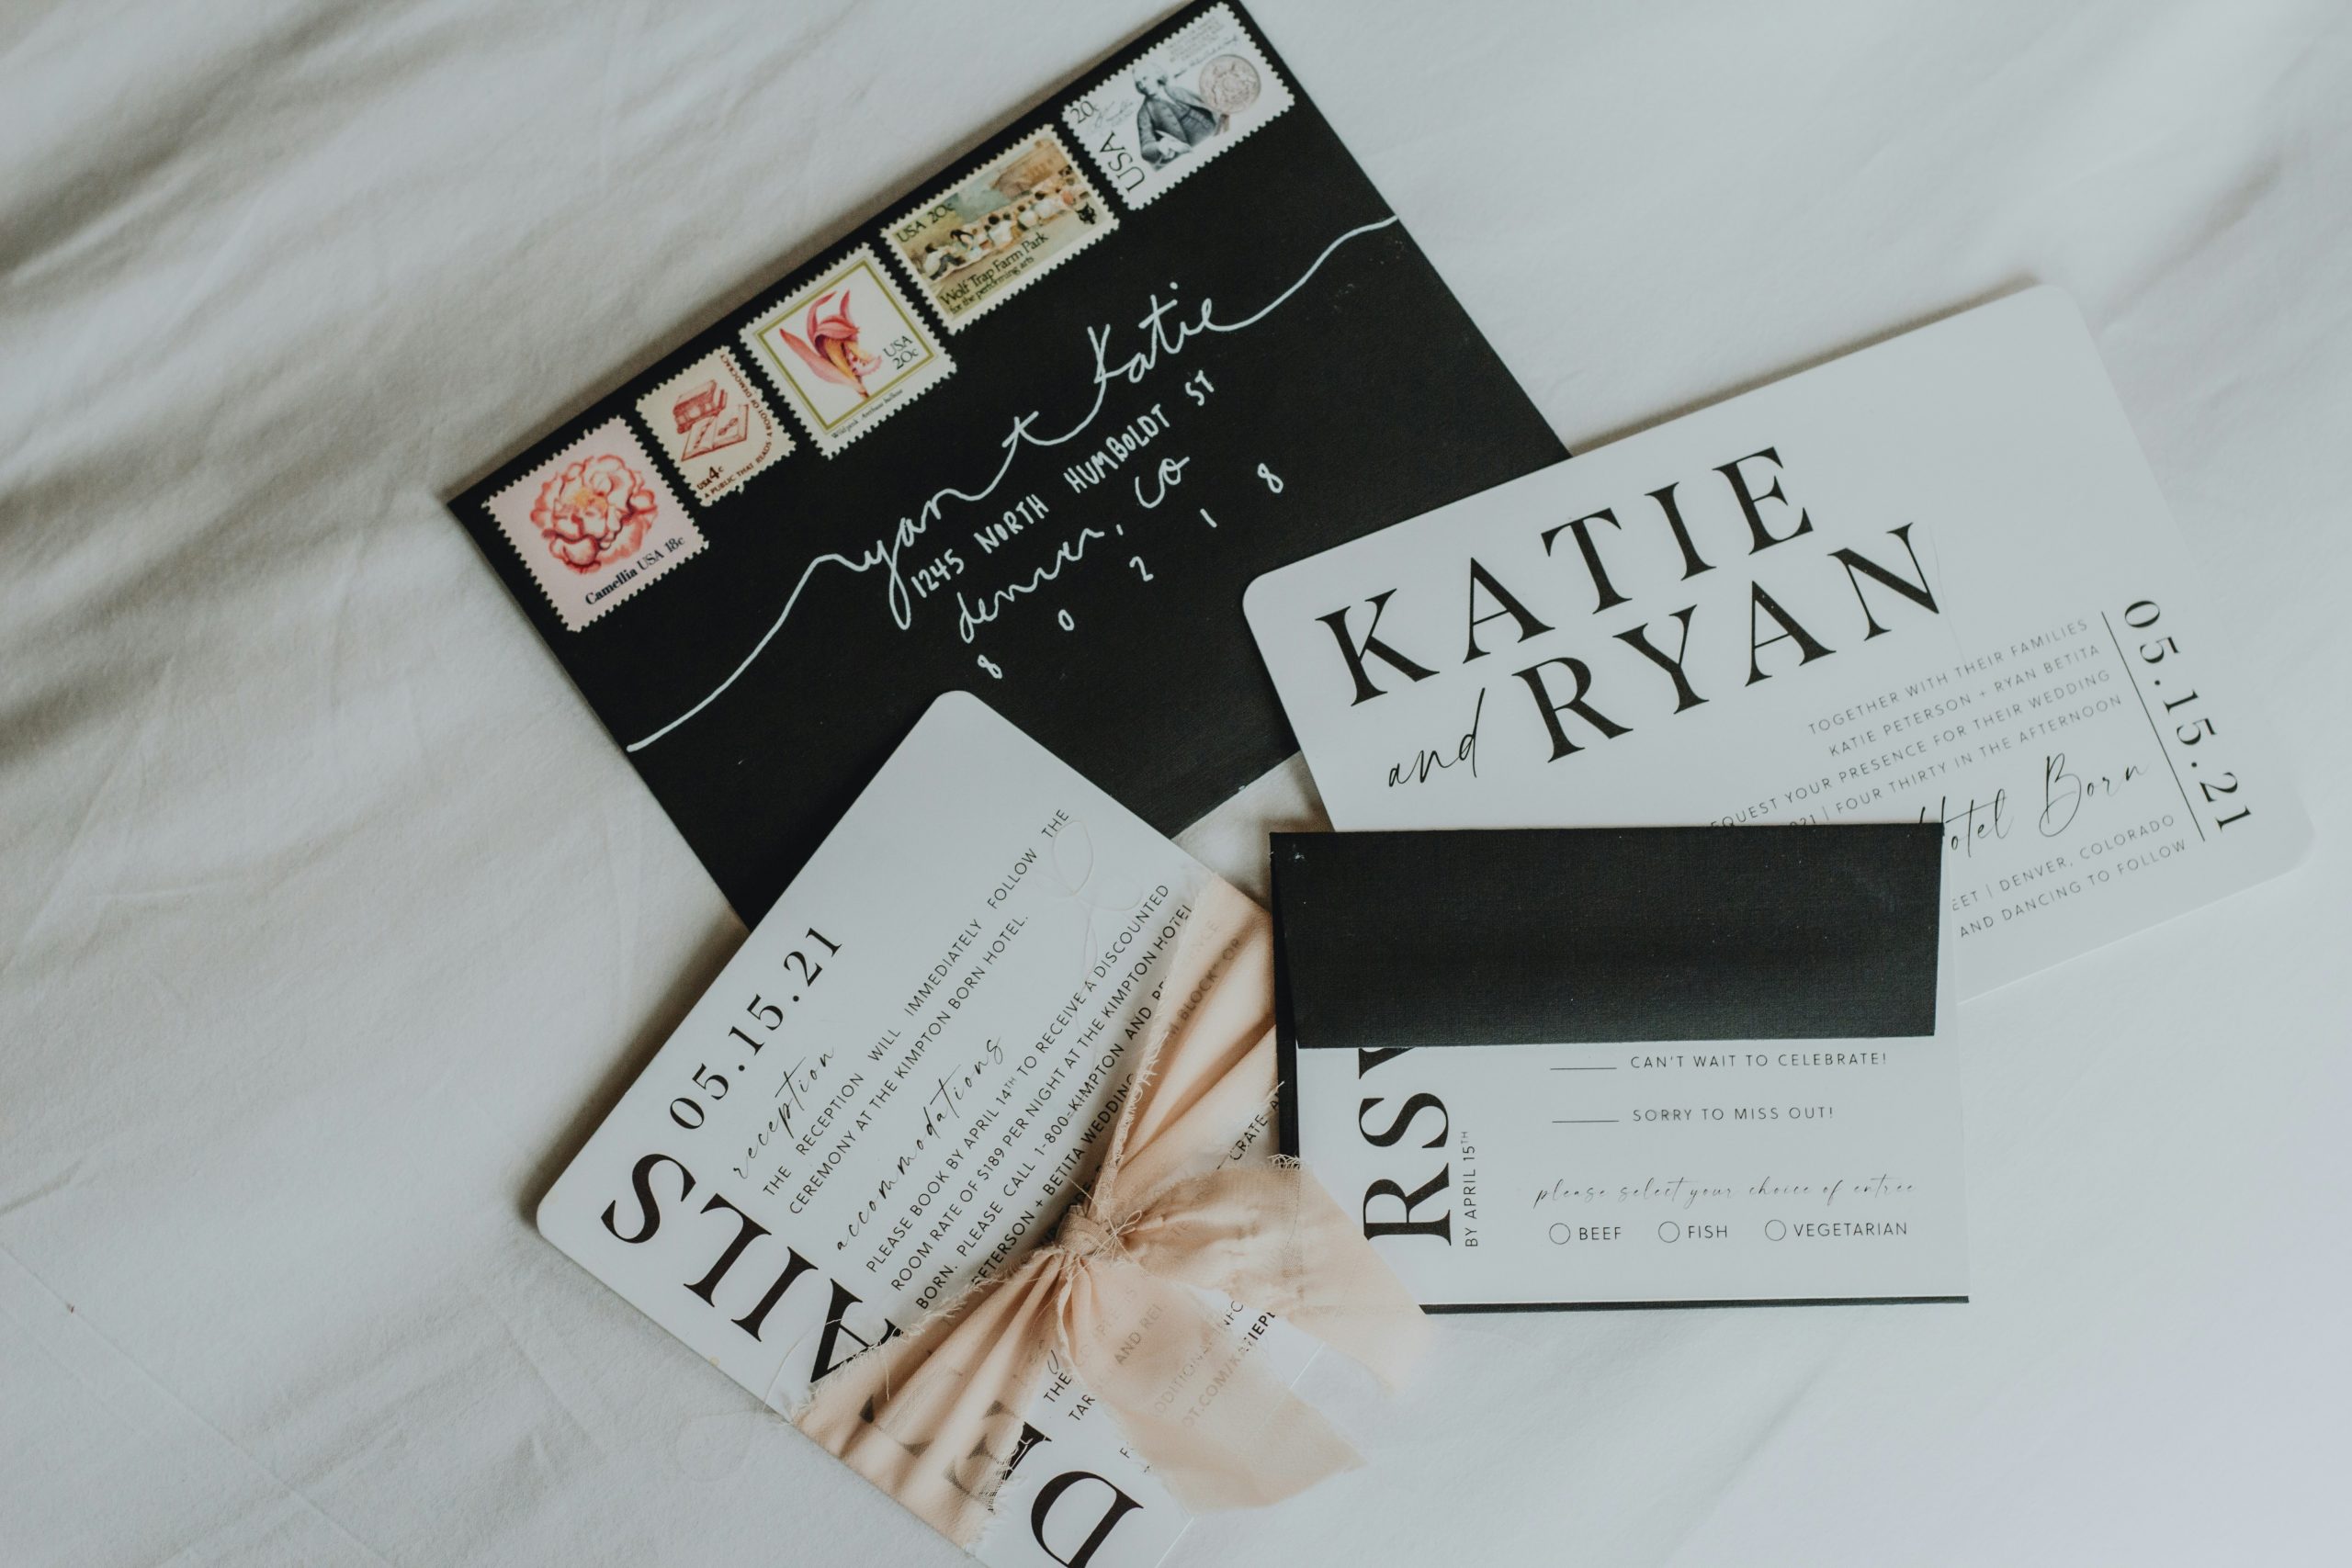
For printed materials, PDF is the most suitable choice, offering sharp details and maintaining the quality of intricate designs. Canva’s PDF Print option provides high-resolution output, ensuring that the save-the-dates look professional in physical form. Depending on your needs, consider enabling crop marks and bleed settings to aid in precise trimming during the printing process.
Whether for online distribution or print, selecting the right file format is crucial in ensuring the designs stand out beautifully and serve their intended purpose effectively.
Downloading and Printing Tips
Downloading designs from Canva involves selecting the “Download” button, then choosing the desired file type. Consider the resolution needed for your final product; higher DPI settings are essential for quality prints. Opt for 300 DPI for printed save-the-dates to achieve a crisp and professional look.
Before printing, review the design’s dimensions and layout. Ensure that the design fits the chosen paper size and accommodates any bleed or trim requirements. If printing at home or a local print shop, test a single print first to check for color accuracy and alignment issues.
Professionally printing with a service may offer advanced finishing options, such as gloss or matte coatings, to enhance the save-the-date’s appeal. These careful steps guarantee that the final product is as stunning on paper as it appeared in Canva.
Design Hacks for Seasoned Designers
For seasoned designers looking to elevate their Canva projects, exploring advanced techniques and incorporating external assets can significantly enhance creativity. By mastering a diverse toolkit within Canva and integrating custom resources, designers can create more compelling and professional save-the-dates.
Advanced Techniques and Tools
Experienced designers can leverage Canva’s advanced tools to push their designs to new heights. Utilizing the drag-and-drop feature, they can swiftly rearrange complex elements, ensuring efficiency with intricate layouts. Layer management becomes crucial; altering the stack order can create visually appealing depth.
The tool’s animation features allow for dynamic elements that capture attention. Using frameless, subtle movements can make designs more engaging. Additionally, Canva’s screen recorder functions aid in creating step-by-step demonstrations of design processes, useful for collaboration or tutorials. Exploring various grid and symmetry tools can further refine designs, achieving a more polished appearance.
Integrating External Assets
Incorporating external assets can provide a unique edge to Canva designs. Designers might import high-quality photos or illustrations, adding a personalized touch to save-the-date cards. These external elements can align with specific themes or personal tastes, enhancing the intended mood of the project.
Custom fonts can elevate textual elements, giving messages a distinctive flair that standard fonts may lack. Color schemes imported from external palettes offer more tailored aesthetic choices, ensuring harmony with the overall design. Careful integration of these assets can create more cohesive and memorable visuals, allowing for greater expression and creativity in each project.


